Measure the size and shape of your supporting beams, or use a ceiling tile. With your heavy scissors or razor blade, cut your mineral wool or vinyl barrier to match the size of the ceiling tile. Make sure that there is still a gap of at least 1/4-inch between the material and the original ceiling. Doing so will help absorb the transmission of sound. For older buildings, a gap of up to 2 1/4-inch is recommended. If in doubt, check your local building codes.
Remember, if you have ceiling fixtures, you will need to cut the respective holes in the soundproofing material. Make sure that you will still be able to secure the fixture to the support beams or hang it from the original ceiling
Remove power from any circuits that connect to existing lighting fixtures in the suspended ceiling. Remove fixtures.
Some vinyl barriers come with adhesive tape on the bottom. If so, remove the cover and adhere to the top of the ceiling tile (the part you won’t see from the room). If your material does not come with adhesive tape on one side, use the sealant to secure the mineral wool or vinyl barrier onto the top of each ceiling tile. Make sure that the material does not go further than the edge of each tile or you will have difficulty putting it back in place. Let the caulk dry for 24 hours (or longer if in a cold environment).
Once dry, place the tiles back into the ceiling. Again, if you have ceiling fixtures, replace fixtures and put the corresponding tile back in the same place. Of course, this would be a good opportunity to move the lighting pieces if you so desire. After you have replaced the tiles, check for any inconsistency or mess and trim accordingly.
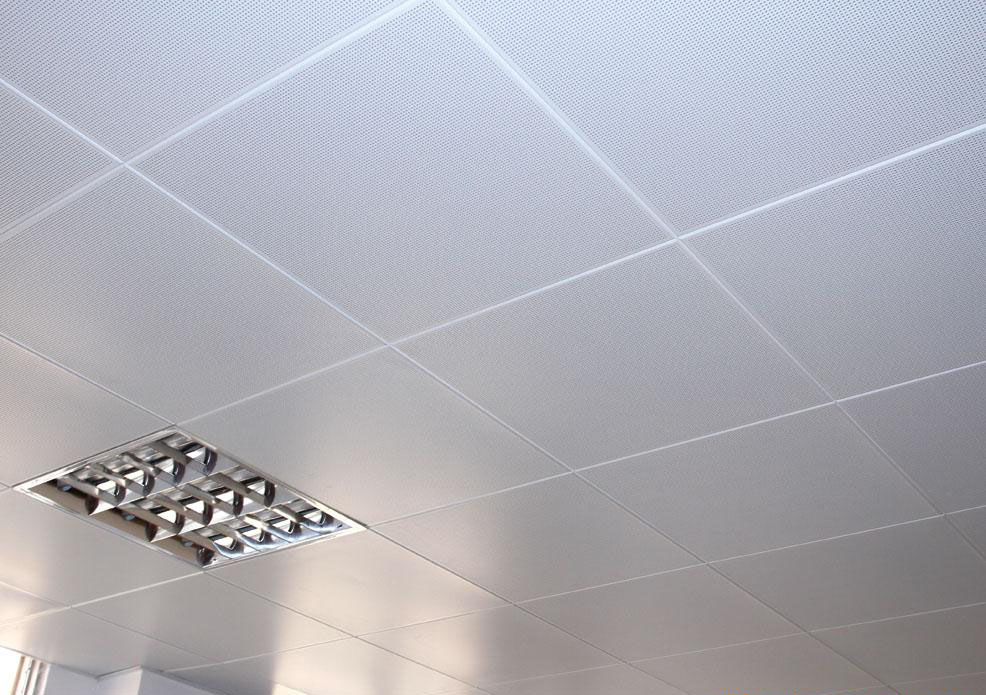
Unlike a normal ceiling, the suspended ceiling actually provides an easy, hidden opportunity for soundproofing. You can utilize this method yourself in any room of the house that has a suspended ceiling without redoing any drywall or electrical wiring.
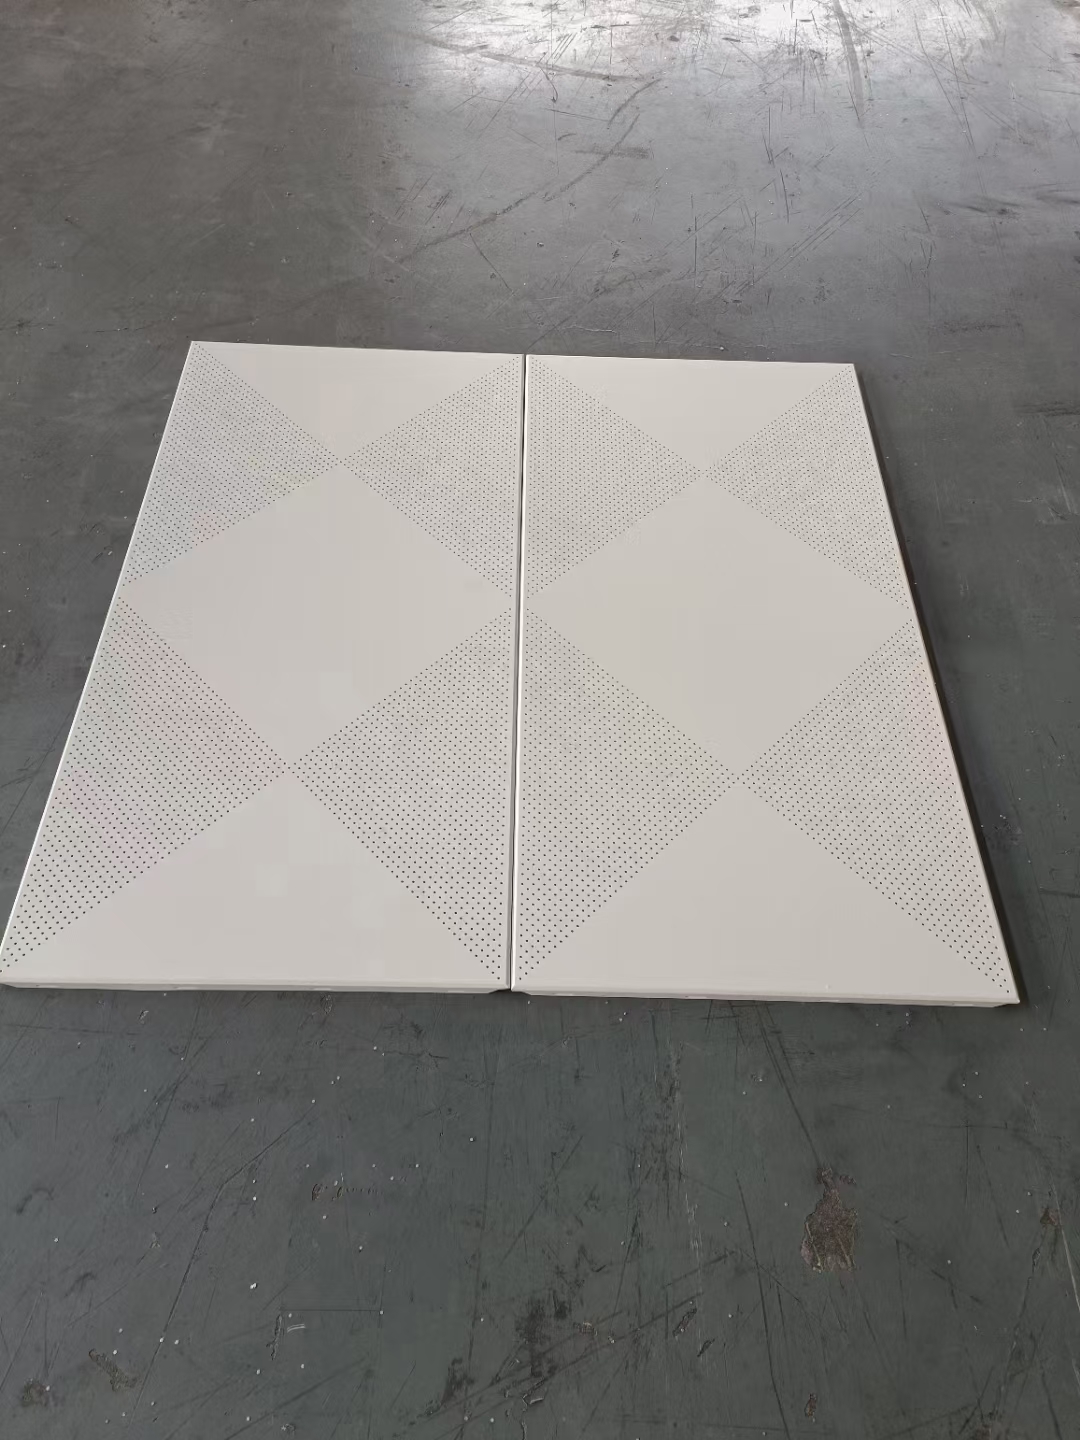
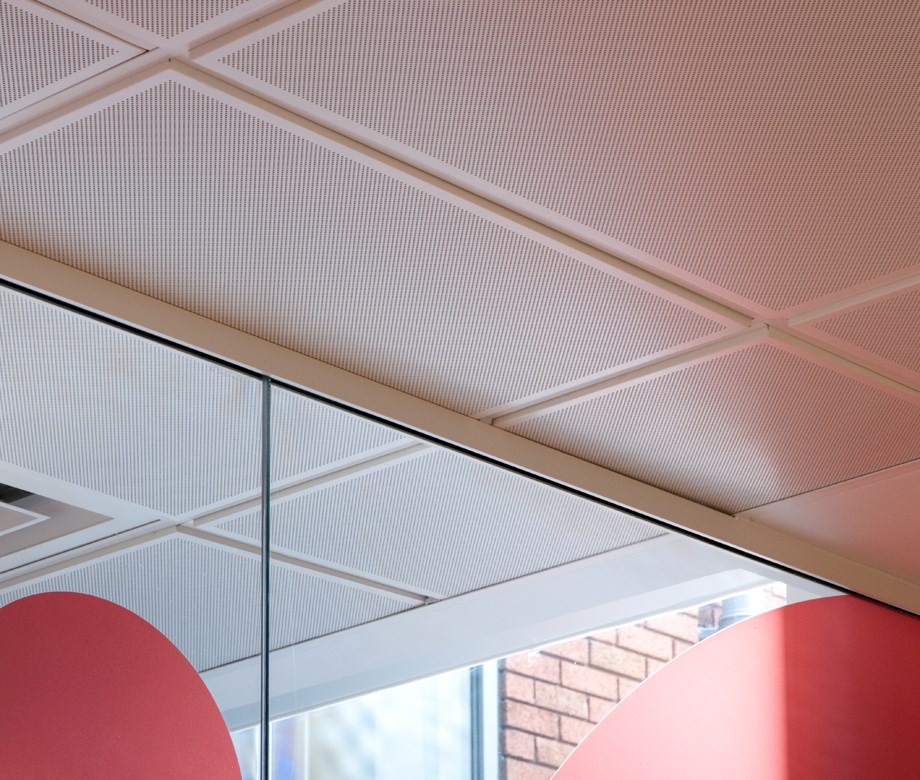
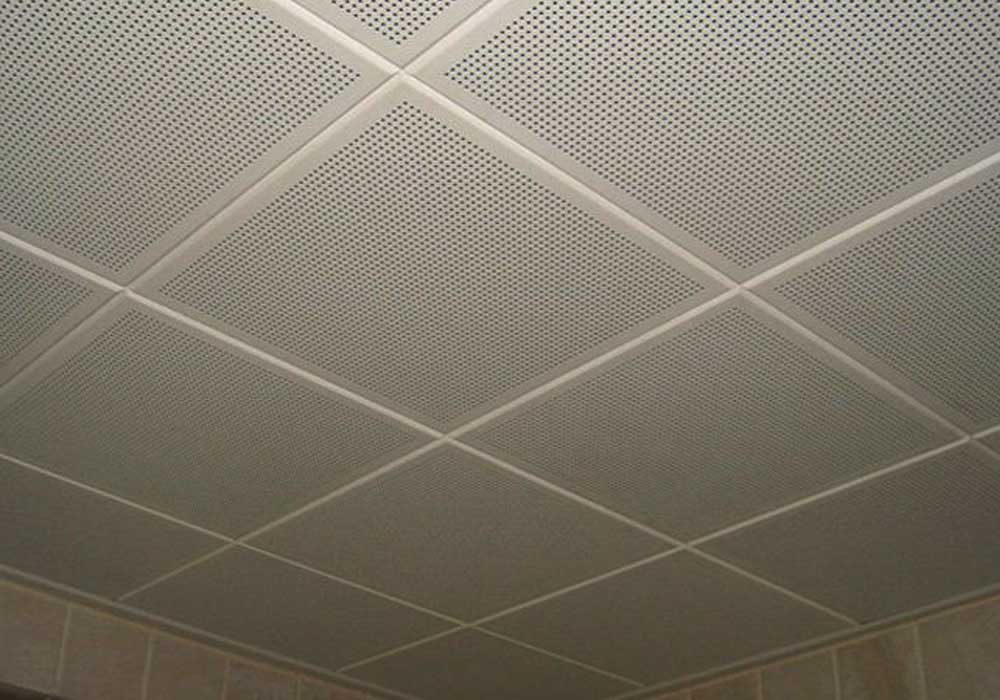
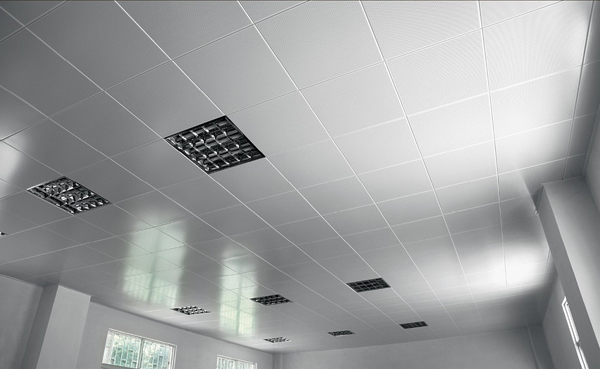
 aluminium honeycomb panel aluminium honeycomb ceiling
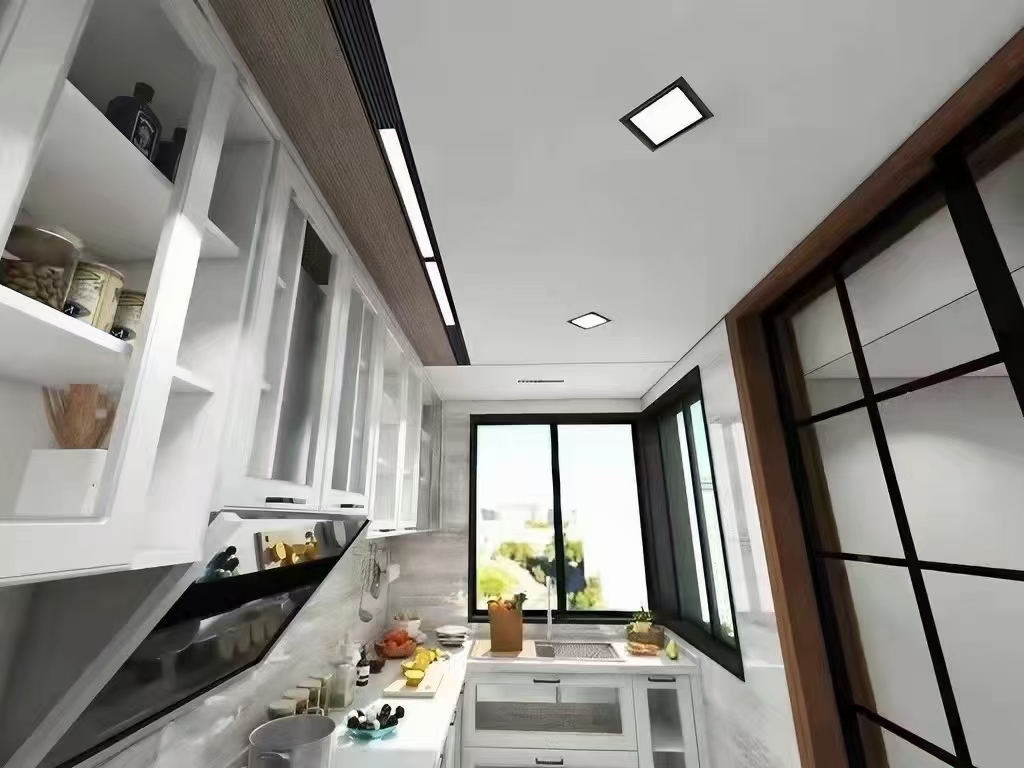 Aluminum Honeycomb ceiling, brand new building material
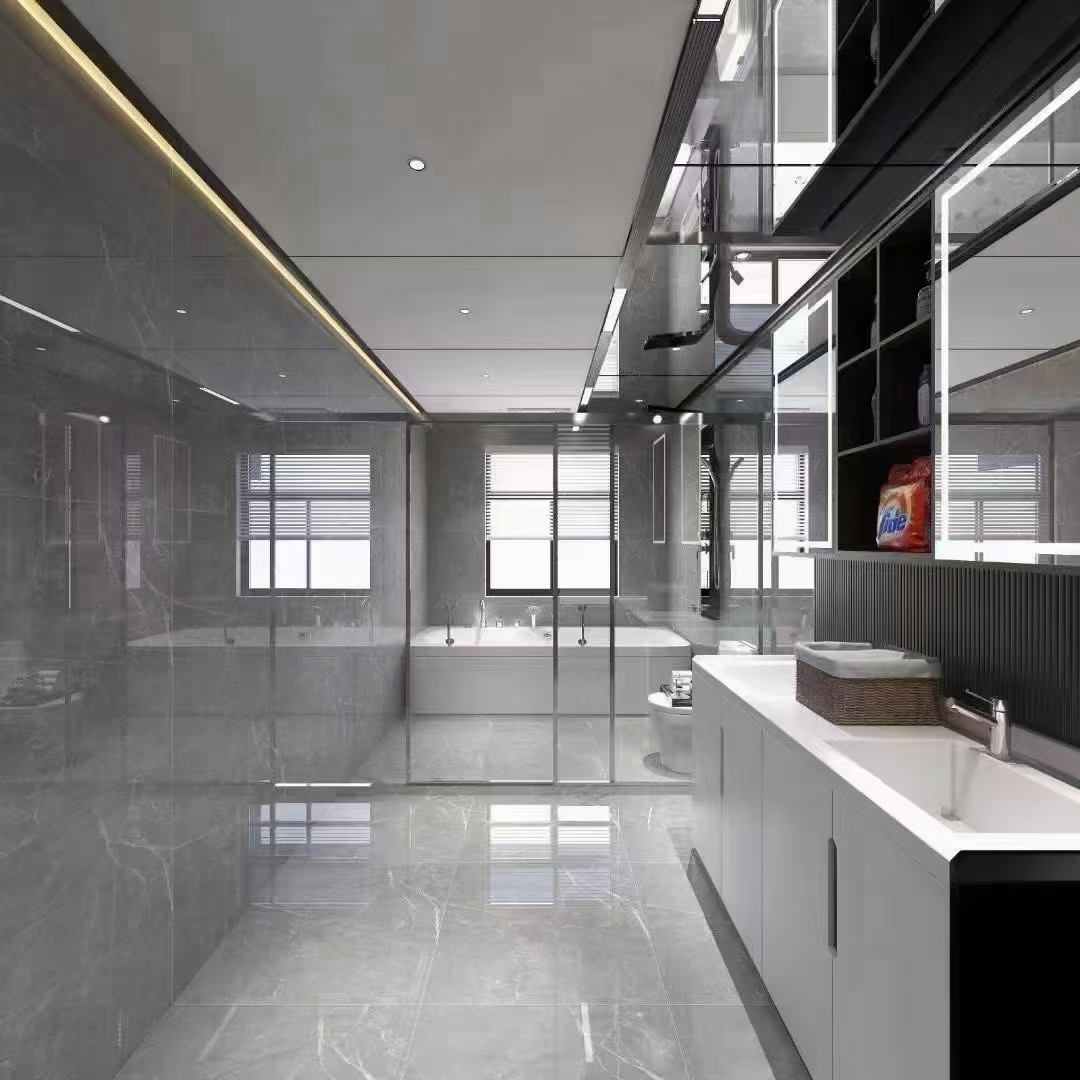 Aluminium honeycomb ceiling
GUANGXI SAIYI BUILDING MATERIALS CO., LTD© All Rights Reserved.